
 By
By 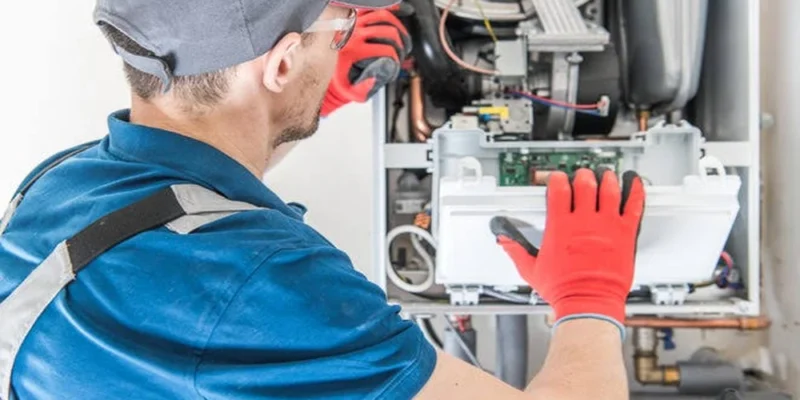
Replacing a heating and cooling system is one of the biggest purchases a homeowner makes, and also one of the least understood. Most people know the price and the brand, but not what actually happens in their home from the first visit to the final test. Knowing the sequence helps you ask better questions, spot shortcuts, and feel calm on the day itself. Here is how a well run installation unfolds, from the first quote to the first week with new equipment.
Weeks before: the assessment and the written proposal
A good installation starts well before the truck arrives. The contractor should walk through the house, look at the existing equipment and ductwork, and ask about problem rooms, energy bills, and how you use the space. A quote given over the phone without seeing the home is a warning sign.
ENERGY STAR makes a point worth remembering in its tips for hiring a heating and cooling contractor: a bigger system is not always better, and the contractor should size the equipment based on the size of the house, the level of insulation, and the windows. The same guide advises getting a signed written proposal before any work begins, and checking the license and insurance requirements that apply in your state. Ask the contractor to explain how they arrived at the size they recommend, not just the number on the box.
The week before: scheduling and preparing the house
Once you have chosen a company, the focus shifts to logistics. Confirm the date, the expected length of the job, the crew size, and what happens if weather or a delay changes the plan. When you arrange hvac installation in Dallas, ask about scheduling during the hottest months as well, since summer is a busy time and a plan for temporary cooling can make a long day far more comfortable.
Preparation on your side is simple but useful. Clear a path to the indoor unit, whether it sits in a closet, garage, or attic. Move stored items away from the equipment and the outdoor pad. Secure pets, and plan for the power to be shut off for part of the day. If anyone in the home depends on medical equipment or works from home, tell the contractor in advance so they can plan around it.
Morning: protecting the home and removing the old system
A professional crew starts by laying down floor protection and covering the work path. Then comes shutting off power to the system and recovering the refrigerant from the old equipment. Federal rules require that refrigerant be recovered by certified technicians instead of being released, so this step should be done properly and not skipped.
Once the refrigerant is out, the crew disconnects and removes the old indoor and outdoor units. This is also when they get a close look at what has been hidden for years, such as rusted pans, corroded lines, or disconnected ducts. If they find a problem, a good contractor stops and shows you before adding anything to the price.
Midday: setting equipment, lines, and ductwork
Now the new system goes in. The outdoor unit is placed on a level pad, the indoor unit or furnace is set and connected, and the refrigerant lines are run and connected. Electrical work, drain connections, and the thermostat wiring follow.
This is the stage where quality shows. Lines should be properly sized and insulated, the drain should slope correctly, and connections should be sealed. Existing ducts should be checked and connected to the new equipment, and any visible leaks should be sealed. Duct condition has a large effect on comfort, so ask whether repairs or changes are recommended while the system is open.
Afternoon: startup, testing, and the walkthrough
Before the crew leaves, the system needs to be started and tested, not just switched on. A thorough technician will check the refrigerant charge, measure airflow, confirm the temperature change between the supply and return air, test the electrical connections, and make sure the drain is working. They should also check that the thermostat communicates properly with the equipment.
Then comes the walkthrough. Ask the technician to show you where the filter goes, how to change it, how to use the thermostat, and where the shutoff switches are. Request the model and serial numbers, warranty paperwork, and a copy of any permits or inspection records. Make sure the work area is cleaned and the old equipment is hauled away as agreed.
The first week after: watch, listen, and follow up
New equipment may make slightly different sounds than the old system, but you should not hear grinding, rattling, or repeated starts and stops. Notice whether every room is reaching the temperature you expect, whether any vents feel weak, and whether the humidity feels comfortable. Check around the indoor unit for water and around the refrigerant lines for ice.
Keep a short list of anything that seems off and call the contractor early. Reputable companies expect a follow up call and would rather adjust a setting in the first week than hear about a problem months later. Finally, register the warranty if the manufacturer requires it, and put your first filter change and annual maintenance visit on the calendar.
Knowing the sequence turns installation day from a mystery into a checklist. When each stage is done properly, the system you paid for is the system you actually get.








Comments