
 By
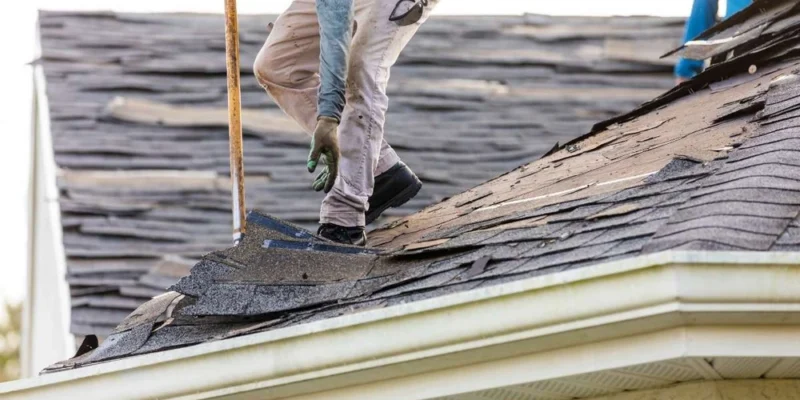
A storm passes, the wind dies down, and you walk outside to find shingles in the yard and a dark stain spreading across a bedroom ceiling. The next seven days matter more than most homeowners realize. Choices made in a hurry, under stress, often cost more than the storm itself. This guide walks through the week in order, so you always know what comes next.
If you live in Ripley, Henning, Halls or anywhere nearby, a trusted Lauderdale County roofing company can handle the repair itself, but the first steps belong to you. Here is how to take them calmly.
Day One: Get Safe Before You Get Busy
Stay off the roof. Wet shingles, loose decking and debris make it a dangerous place for anyone without training. Check the ground around the house for downed power lines and stay well clear of them. If a ceiling is sagging with trapped water, keep people out of that room.
Look for the obvious from the ground: missing shingles, dented gutters, branches resting on the roofline, daylight in the attic. Do not climb up to confirm it. What you can see from the yard is enough to start.
Day One and Two: Document Everything
Photograph and video the damage before you touch anything. Capture wide shots of each side of the house, then close-ups of specific problems. Inside, photograph stains, drips and damaged belongings. Add dates to your notes and write down every conversation with your insurer, including the name of the person you spoke with.
State insurance guidance backs this up. Keep notes on each call, photograph or video all damage, and ask your insurer what paperwork it needs.
Day Two: Call Your Insurer and Stop Further Damage
Call your insurance agent or company with your policy number. Policies can set deadlines for reporting a loss, so do not wait. Ask what your policy covers. Standard homeowners policies typically cover wind damage and damage from falling trees or objects, while problems like flooding usually are not covered.
Then limit the damage. A tarp over an exposed section or a covered broken window is reasonable. Hold off on permanent repairs until the insurer has inspected, and keep receipts for anything you buy.
Day Three to Five: Compare Contractors Without Rushing
Expect knocks on your door. Crews that appear right after a storm are not always local or lasting, and the Tennessee Department of Commerce and Insurance specifically urges caution with anyone selling repairs door to door, especially if they want money upfront or offer steep discounts.
Instead, collect a few bids and check references. Ask each company how long it has served the area, who will do the work, and how it handles unexpected findings once old materials come off. A roofer in your own region is easier to reach in the months and years after the job.
Checking a License
The state’s guidance on hiring a contractor after a storm offers a few concrete checks:
- Verify a professional’s license at verify.tn.gov.
- A state contractor license is required for projects over $25,000. For smaller work, ask your local building codes office what license or permit applies.
- Get several bids and check references before deciding.
Day Five to Seven: Read the Contract Slowly
A good contract describes the work in writing: materials, scope, start and finish expectations, cleanup, and payment terms. It should let you inspect and approve the work before the final payment. Under the state guidance, Tennessee home improvement law bars a down payment of more than one third of the total contract, so be wary of anyone asking for more.
Ask how the company documents the job for your insurer, and whether the written warranty covers workmanship as well as materials. If anything is vague, ask for it in writing.
Job Day and Afterward
On the day work starts, walk the property with the crew lead and confirm the plan. Keep pets and children away from the work area, and expect noise, since tear-off is loud. When the job wraps up, walk the yard for stray nails and take final photos for your records.
Within a few weeks, check the attic after the next good rain. Dry decking and no new stains are the best proof the repair worked. Keep the contract, receipts, photos and warranty together in one folder.
The Short Version
Stay safe, document first, call your insurer, cover what is exposed, and take your time choosing who does the permanent work. A week of careful steps protects both your home and your wallet.


Comments