
 By
By 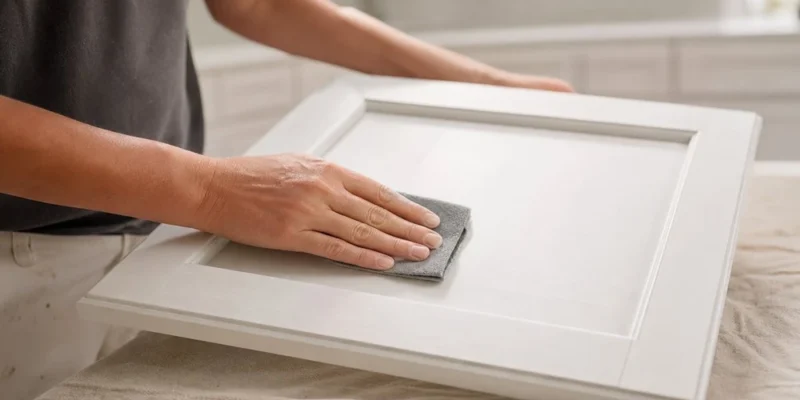
Repainting cabinets doesn’t require replacing countertop or removing the boxes, nor does it have to involve gutting your entire kitchen. But if you treat the project like a wall-painting job, you could end up unhappy with the results.
Doors, drawer fronts, and cabinet frames are constantly bumped, touched, exposed to grease, and doused in moisture. So the prep work and what you apply to them are just as important as what color you choose.
Check What You’re Working With
Painting is ideal for cabinets in solid structural shape. Minor scratches, chipped paint, and outdated finishes are all prime candidates for a new coat. But loose hinges, warped particleboard, flaking laminate, and water damage all need to be addressed first.
Check your cabinet doors around the sink, dishwasher, and lower cabinets for softening caused by moisture exposure. You’ll want to address these issues before picking out a paint color.
And watch out for doors that rub together and sag. Adjust the hinges before you start the refinishing process.
When checking your cabinet boxes and doors, make sure they leave about 1/8 inch of space when they close. You don’t want your new paint to prevent them from opening.
Prep Is What Makes It Last
Even when cabinet doors and drawers appear to be clean, they still accumulate grime from cooking (Food & Wine covers this at foodandwine.com/how). Be sure to clean them with degreaser around handles and pulls, as well as on cabinet doors closest to the range and upper cabinets near the stove top. Leaving even a little residue behind will affect how well the primer adheres, and the final result may chip prematurely.
The typical preparation process looks something like this:
- Take off cabinet doors, drawer fronts, hardware, and removable shelves
- Wipe down cabinet surfaces to remove grease, dust, and cleaning residue
- Patch or replace chipped wood, open seams, and worn edges
- Lightly sand or scuff the existing finish
- Apply a bonding primer designed for cabinets
- Cover countertops, floors, and adjacent rooms to keep them free of dust and paint
As with almost any painting job, the final result is only as good as the prep work.
Choose a Finish That Can Take Daily Use
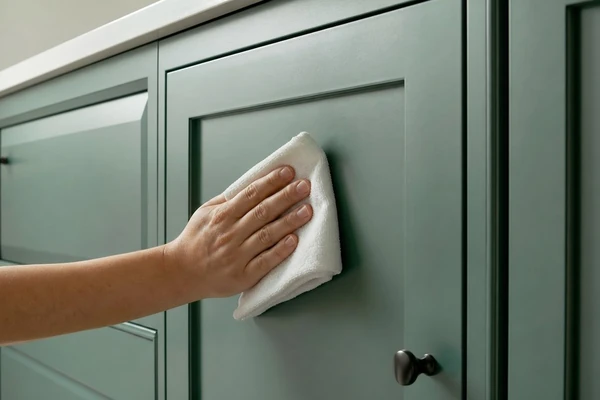
The paint you apply to cabinets needs to be tougher than regular wall paint. After curing, you want it to be able to withstand scrubbing, handling, splatters from foods, and frequent cleaning. The smoother the finish, the easier it will be to wipe them down. Grime won’t have a lot of texture to cling to.
In addition, consider how your existing countertops, backsplash, floors, and appliances might impact your choice of color. They can affect whether the color looks too warm, cool, light, or dark. Test it on an actual cabinet door rather than relying on a small color chip alone.
The sheen also plays a role. A flat sheen may be harder to clean, while an overly shiny one will make any imperfections, dents, or brush strokes stand out. For a local option, Kitchen Made New’s Oakville cabinet painting service covers that route. Opt for a medium sheen designed specifically for cabinets that will be easy to wipe down but won’t show every little flaw.
Cabinets Aren’t Walls
Cabinet painting is a multi-step process that can take some time, as the layers need to dry and cure in between. Doors can be painted separately from frames for easier access and less chance of drips running down the edges and molding.
Spraying is a good choice for cabinet doors and drawer fronts because it produces an even, smooth finish. Depending on your situation, your cabinet frames may be sprayed, brushed, or rolled. If possible, keep your workspace isolated from the rest of the house and ventilate it to help fumes escape and keep the smell from spreading throughout your home.
Decide if you’ll reuse your hardware or switch to new pulls. Existing pulls can stay in place if the color scheme you’re going for complements them. New hardware can give your cabinets a whole new look, but you’ll have to fill the old screw holes and drill new ones, which requires care so they align correctly.
Apply painter’s tape to the doors, drawer fronts, hinges and sets of hardware before you take them off. Although cabinets may appear identical, there’s often a subtle difference in how well they fit. Placing things back in their original positions will help keep the spacing even.
Give the Paint Time to Cure
Don’t rush to put things back in the cabinets right after they’ve dried. Although the paint may be dry to the touch, it may not yet have hardened enough to resist being scratched and marred. Avoid heavy use for a few days after installation so you don’t end up scuffing corners, edges, and other high-touch spots.
Once you’re ready to reassemble the kitchen, check your doors in typical lighting, open and close your drawers, and verify that your hinges are aligned. Make sure you have a touch-up kit handy for any future repairs. Label it with the paint color and finish.









Comments